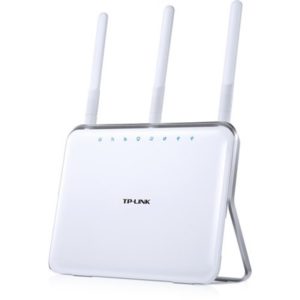
The given blog gives information about your TP-Link Archer C9 AC1900 setup. The Archer C9 AC1900 is a wireless dual-band gigabit router. The TP-Link router provides high-quality speed which is suitable for offices and houses network.
Some of the pros and cons are mentioned below:
PROS:
- TP-Link Archer C9’s excellent performance.
- The TP-Link router is affordable
- It is easy to setup
- The design of TP-Link is very classy.
- It supports firmware updates and web management.
CONS:
- It’s a low storage performance.
There is a very rare chance that you find any negative points for the TP-Link AC series. Because it never fails to impress anyone.
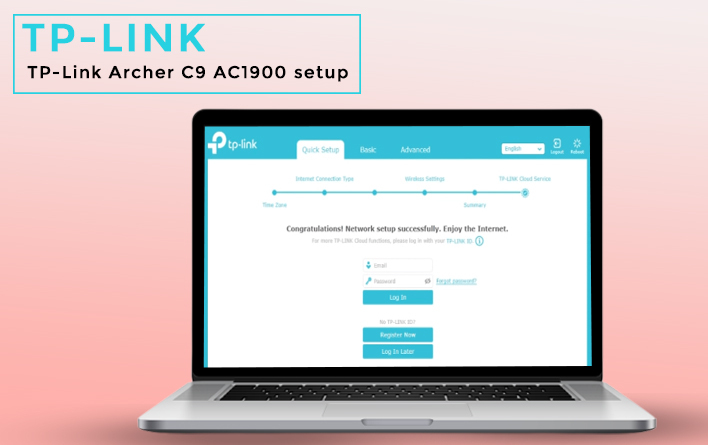
You can easily log into the Archer C9 AC1900 by following the steps we have mentioned in the below blog. You can log into your TP-Link router. First, Set the IP protocol to ‘obtain IP address automatically’ on your computer.
Now open a web browser and fill the default address http://tplinkwifi.net in the address bar. You will be prompted to the login page. Fill the default login credentials. Next, you will be logged into your router TP-Link.
For TP-Link Archer C9 setup follows the steps given below.
First, log into your TP-Link Archer C9 AC1900 by filling the default details.
The quick setup page will appear in which you can select the region and time zone. Save your changes by clicking ‘save’ option. You can also detect the WAN connection type.
By using the above steps your TP-Link Archer C9 ac1900 setup is complete. In case you find any problem you can contact us at our toll-free number.
When the whole setup and login process is done, you need to update the firmware of your router. It is important that you update your router’s firmware for safety purpose. Also, your router’s manufacturer upgrades the firmware with the latest updates. For TP-Link Archer C9 firmware updates given below are the instructions you need to take:
- Download the latest version file of your firmware from the official site of TP-Link.
- Log into the web management page.
- Click on ‘upgrade’ under the system tool tab.
When the firmware is updated the device will reboot automatically.
Thus, the TP-Link Archer C9 firmware is updated.
Some frequently asked questions are given below:
Q. How to configure the TP-Link Archer C9 router to connect to the internet?
Ans. Follow the steps given below:
- Open a web browser and enter the default address.
- Now log into the router using default username and password.
- Under the ‘setup’ option you can configure your internet connection.
- After the configuration, click on ‘save’ to apply your changes.
You can check the connection status by clicking on the status on the top of the page.
Q. How can I configure my TP-Link router to connect internet by Ethernet cable?
Ans. Follow the steps to configure TP-Link router by Ethernet cable.
- Log into the router’s web management page.
- Under the ‘network’ option, you can change the WAN connection type.
- Fill the PPPoE username and password, which are provided by your service provider.
Click on ‘save’ to save your settings.
Hence, from the above-given blog, we hope that you will be able to understand your TP-Link Archer C9 AC1900 setup. You can also contact us on our toll-free number in case you find any problem with your TP-Link Archer C9 AC1900 setup and TP-Link Archer C9 firmware.